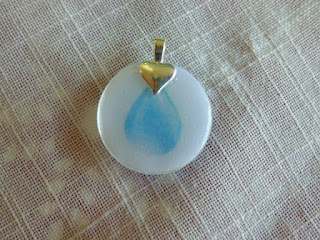
Now that our pendants have cured overnight
we are ready to finish them.
This is what you will need:
~Make sure your scissors are sharp!
~You can use fine grit sandpaper instead of a nail file.
~Again make sure your craft knife is sharp, otherwise you will have a mess.
Step 1:
Trim away the excess paper.
Try and cut it as close to the glass piece as you can.
This will save you
Step 2:
Use your craft knife to trim the edge
flush to the pendant.
(Yes my "knife" is really a scalpel,
use what ever works, right?)
Step 3:
Smooth the rough edges with the nail file.
Make sure all edges are nice and even
or else your pendant will have rough edges.
Your pendant should look like
this when you are done.
Nice even edges that are smooth
and not hanging over the edge of
the glass.
Step 4:
Apply your glaze to the back of the pendant.
Make sure to cover all the paper,
get the edges too.
This will seal your paper.
Your pendant should have a nice,
thick even coat when you are done.
Now let this cure.
Step 5:
Get your bail.
These can be bought online at a
number of vendors.
(I get both my bails and my glass
from my friends at
Apply your glue to the back
(textured) side of the bail.
I like to use these pen style applicators,
way less mess.
Position on the back of your pendant
glue side down and press firmly.
I let these dry over night to be sure
they are cured.
After they have cured again over night.
Add a chain and wear!
I hope you
found this little
"How To"
helpful!
Now go and make yourself some pretties!


No comments:
Post a Comment